Showing posts with label craft. Show all posts

Wednesday, November 26, 2014

Making a Custom Gingerbread House from Scratch: Elf Movie Theme

If you have been around this blog very long, you have heard about our wacky group of moms and kids that get together once a week at our Homeschool Co-op. At the end of each quarter our motley crew has a celebration of sorts. The themes have a wide range from crazy to cozy but all manage to stay grounded in the element of a rootin' good time.  You may recall last year a couple friends joined me in planning the Redneck Hootenanny end of quarter party {that has since become the #1 blog post favorite}. This year it was a Christmas Party Extravaganza - gingerbread house contest, gift exchange and good grub included! SO.MUCH.FUN.

Well, give us a craft challenge and we will jiggety jump. It had been two years since our last gingerbread creation and we needed some inspiration to get our creative juices flowing freely. A suggestion of all thing ELF was made by the dear hub and we were bursting with ideas. 

First, we needed to create a model of what we would be building. I grabbed an old, used (yes Mr. Postman,,, I didn't break a federal law... it was used and headed to recycling) box and formed the buildings and a liner to fit within my tray base. The kids and I talked about where things should go and what parts of the movie we felt was most important to present in the small space we were limited with. I drew a very primitive plot plan.

Next we whipped up the gingerbread dough. I wanted to make a gingerbread that would be hard enough for the buildings but yummy enough to eat the scraps. I decided on a recipe that was once used (may still be) at the White House. Here is the recipe for the White House Gingerbread Recipe.

It was originally published in Mailbox News (a cake decorating magazine), and is the actual White House gingerbread house recipe used by then White House Pastry Chef Hans Raffert.
We rolled out the dough and disassembled our cardboard to use as patterns. Baked them - and trimmed to sharp edges while the building pieces were still on the baking pan (before they had a chance to cool). 

Turned out great! 


Then it came time to figure out the glue. I decided to go with the basic royal icing recipe that comes on the Wilton's Meringue Powder tub. I made a double batch.


Got my pastry tubes filled with the proper decorator tips and we got to work assembling.  Then, we let the building set for a day before embellishing with sweet goodness.


Needless to say - we finished so far ahead of time, we just kept adding more day, by day. The signage ended up being my favorite addition.

As we probably all know, Elf starts at the North Pole and passes Narwhal on his way to the Candy Cane Forest, on to the Sea of Swirly Twirly Gumdrops and through the Lincoln Tunnel. Arriving in New York he seeks his Dad out at Gimbels Dept. Store, Spins in the rotating doors (different building but we added it to Gimbels) and discovers the Worlds Best Cup of Coffee.  His route was marked by some sweet tart candy stepping stones throughout the whole scene we created.

We had such a blast! Everyone was able to contribute and feel proud with the end result of our combined efforts. The great news is we have a month to appreciate this labor of love.

Oh, and we did win the competition. ;)


I wish I would have thought of doing this last year for our Family Christmas Countdown Party Series: Elf Movie Night! 


 -Simply Sublime

Saturday, November 9, 2013

Family Christmas Countdown Party Series: Elf Movie Theme Night


Let me just tell ya' - this was one LAST MINUTE, thrown together festivity. Usually I would have a few more decorations to deck the halls, activities for the wee hands to stay busy and yeah, we might of even had some costume pieces. Although, I feel really good about the fact that I have learned something over the years...rather then letting lack of time stop you, sometimes when the mood strikes you have to just go for it, run with whatever you can grab along the way to get where you are headed. Tonight's family party is just that. So bear with me as you read through this post, knowing there is MUCH room for you to expand the theme into. 

World's best cup of coffee

Here is the evidence of just how planned out this party was...
  • 11:30 am we decided a homemade pizza party with movie would be fun with the cousins. 
  • 12:30 pm we decided to expand it into a theme party.
  • 1:00 pm We had Elf on the brain
  • 1:30 pm Internet searching begins for some ideas
  • 2:00 pm Menu is planned: Spaghetti w/syrup, cupcakes w/elf toppings & World's Best Coffee
  • 2:15 pm Activities planned: Elf craft, Paper Cut out Snowflakes, Decorate Cupcakes
  • 2:30 pm grocery list for dear hubby to stop on way home from work completed 
  • 3:00 pm Tori making cupcakes from scratch for candy-licous toppings Elf-style activity
  • 3:30 pm pizza dough rising
  • 4:00 pm elf craft printed & ready to go
  • 4:30 pm "World's Best Cup of Coffee" labels designed,  printed and glued on to-go cups 
  • 5:30 pm Dear Hub arrives and candy toppings are dished up, pasta is cooked.
  • 6:30 pm we are cranking up the Christmas tune "Baby, it's cold outside" and yelling for the clan to arrive as we dance our way into the start of a fun-filled party.

As the night proceeded I thought of a few more ditty's that would have been fun - like who wouldn't want to have a 2-liter of soda for each person to chug down in one sitting with a burp contest at the end? Or maybe a Santa coming to visit that smells like beef n' cheese?

Here are a few quotes from the movie that could be used to decorate or for a trivia game:

  • The best way to spread Christmas Cheer, is singing loud for all to hear
  • Why don't you just say it? I'm the worst toymaker in the world! I'm a cotton-headed ninny-muggins.
  • Sounds like somebody needs to sing a Christmas carol
  • Is syrup made of sugar? Then yes
  • We elves try to stick to the four main food groups: candy, candy canes, candy corns and syrup
  • Did you see these toilets they're ginormous
  • You smell like beef and cheese, you don't smell like Santa!
  • What's a Christmas-gram? I WANT ONE!
  • He's an angry elf


Here is the cute little Elf craft I found over at DLTK's Craft for Kids. 

templates
craft by DLTK

Didn't they turn out oh-so cute?


You may have noticed that I mentioned a quickly designed  "World's Best Cup of Coffee" label which was glued on to some to-go cups we had picked up already. Well I did a redesign after watching the movie and I have made up a graphic that you are free to use if you would like to.


For the kiddos we made what I like to call "Coccee" which is Cocoa and a tiddle-bit of coffee. That way it REALLY was the World's Best Cup of Coffee for them, wink-wink. For me, bring on the full fledged coffee. YUM! BTW... Isn't my Mom so cute? I want to be like her when I grow up.

yep, the first label design
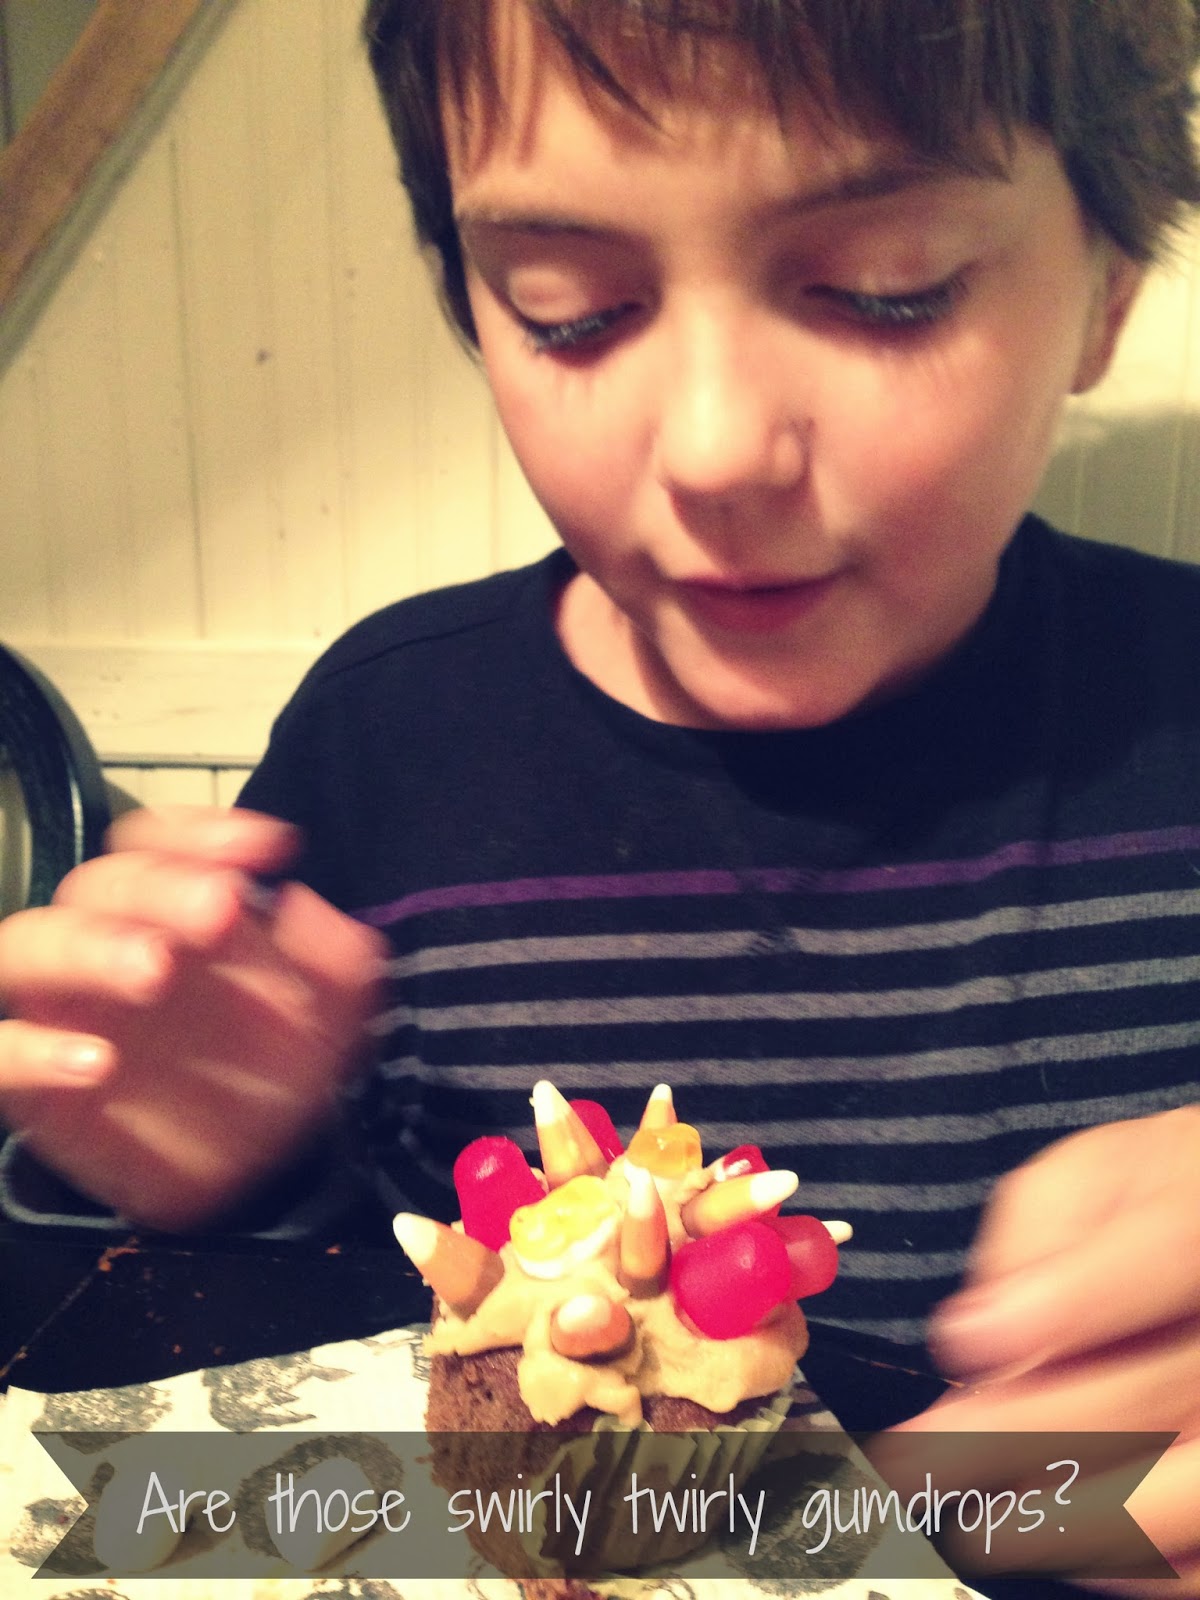
Here is one of the cousins decorating his cupcake with all of the yummy sugary elf-must-eats. After all,  it is 3 of their 4 main food groups for ELVES right there in one little entree.


This guy is dishing up the fant-elf-isc spaghetti with syrup and pop tart crumbled topping. Oh yeah BABY! It is hard to believe now, isn't it? I'll admit, I skipped the pasta and stuck with the homemade pizza we had alongside our de-elf-ish spread. The kids really did have a lot of fun eating all this crazy, funny food though.


Once we finished dining and crafting it was time to snuggle up and watch Elf. I think my very favorite moment was hearing all the kids singing along during the songs and quoting the Elf-isms. 

After such a rolling good time we have decided to make this a weekly countdown party to Christmas. So each week we will pick a movie that we can create crafts, food and decor from. I would so love to hear your thoughts on great Christmas Movies we could make a theme party out of. This year is going to be SO.MUCH.FUN!


More than anything I want to encourage you to just make the most you can out of the moments you have before you. Time is slipping by so quickly. I look at my older kids and I can't believe that 2 decades have flown by before my very eyes. My prayer for each of you is that you would not let getting it perfect hold you back from just throwing some fun out there. Pieces here, a morsel there, just go for it. I think Pinterest is great for inspiration but I fear with these gorgeous photos of perfection it will leave tired Mama's feeling discouraged when reality doesn't show up the same way they dreamed it would with expectation. True character & joy comes with fingerprints, smudges and mistakes. Enjoy them Mama's! Treasure each one and be present in the moment they are created. You have been made for such a time as this... You go girl!

2014 UPDATE - this year our family decided to create an ELF Gingerbread Scene for a competition we were in. It turned out pretty great. I will post a picture here as well, but make sure and check out my blog post on it.


-Simply Sublime

Saturday, June 15, 2013

Family Summer Challenge: DIY Bible Verse Pennant Flag Project


Can you hear the birds chirping? 
Can you smell the the flowers blooming?
Summer is upon us. 

It's the time of year we all look forward to when we can finally get our ahhhhhh on. 
Our schedules relax a bit.
The kids have their eyes fixed on one thing and that is to:
PLAY! 

As much as I am looking forward to this respite, I am also sensing an urgency to press in and grab a hold of God with every ounce of my being. A call to keep our family focused and centered on things with eternal value. This is what spurred on the concept of this project. 


It began with the idea of each family member picking a verse for our whole family to memorize together. My thought was we would memorize one verse a week. Then God gave me this great picture of the scriptures on a pennant flag garland. So as we each picked our verses I designed a pennant shape on my design software and placed the text along with the keyword each verse represented. 


Next I printed them out and cut them in actual size so I could trace them onto a white tea towel. You could use any fabric but I like the texture and rough edges of a washed tea towel. It gives it a lil' vintagey feel. 


I placed the computer printed paper under the tea towel and am tracing the text underneath onto the tea towel with a sharpie pen. Since this will not need to be washed I didn't need a fabric pen - just a regular sharpie pen.


As fabric moves and shifts there are bound to be imperfections but I like the character this adds. You will notice in the above photo the fabric is longer on top than the paper pattern - I was going to have it go over the top of the banner and around the back - but changed my mind (yeah - go figure) I later trimmed it to the same size as the paper. 


Voila - the scripture pennants are ready - now for the colorful backing addition.


Check out the scraps we have on hand, just waiting for a fun project like this.


Now for the difficult part, picking which fabrics you want to use with which verses, making sure they coordinate nicely on the garland. I used pinking shears (because I like the look) and trimmed the fabric about a 1/2" larger then the tea towel panels - except for the top where I had about 1.5 inch larger so I could fold it behind and create a pocket to run the twine through.


Sewing the white panel to the colored backing. 


Now it is time to sew across the top back of the flag so there is a secure place to run the twine through. 


Here they are all sewn ready to be strung.


 I decided to use natural twine. I played with the idea of ribbon, white rope...but decided these would pair nicely with the craft look of the finished product.


I used a safety pin in the twine so that I could easily move the twine through the back pockets of the pennant flags. 


and here they are all strung and ready to hang. 


We hung them in a doorway of our house where we will frequently be reminded to memorize away. The wee ones are SO excited they each have their verse they picked out on display for us to work on. They can't wait to begin.

The kids decided we will be starting with the flag on the right and work our way to the left. Don't even ask me, I have no idea and can't begin to tell you how much this goes against my personal wiring - but I LOVE that they are excited and have a plan for our family to work through this together. 

Hoping this little family project of ours inspires you to channel your inner creativity and make a fun family plan to keep God the focus as you rejuvenate over the summer. 
-Simply Sublime!


Tuesday, March 5, 2013

Crazy Good Free Give-Away! Cricut Mini

Check out this Free give-away that Craft Gossip is offering. So simple to enter! Just click, like, pin and leave a comment - you will have three chances to win. So head on over to CraftGossip.com for your chance to win this snappy gadget. Considering how badly I want this for myself I should score some BEST blogger points for sharing with you all! 


Cricut Mini Giveaway


-Simply Sublime

Friday, January 20, 2012

How to make an Upcycled SCRABBLE PENDANT Necklace


How to make an
Upcycled Scrabble Pendant


What you will need:
Old Scrabble Game Piece
Paper / Fabric (I used thick scrapbook paper)
Acrylic Lacquer (Diamond Glaze or another brand)
Glue-on Bail
E6000 glue
scissors


Items you will need

I also am using a small bead to embellish - see photo below


Trace scrabble size onto desired location of paper.
Pay attention to what you want the pattern to be
on your pendant. 

Trim the paper to just a hair smaller than your scrabble piece.

Notice I am working over a plastic work area - this becomes important during the glazing phase.

Add a line of the glaze on the plain side of the scrabble
piece

Use your trimmed paper to smooth the glaze into a thin, even coating on your scrabble piece. Then place the paper on top. Gently smooth the surface of your paper with your fingers to make sure all bubbles are removed under the paper. If some glaze oozes out the sides simply wipe off. 

Now it is time to add a coat of glaze over the top of  your paper.

Make sure not to have any bubbles. Don't shake the bottle of glaze.

The glaze in now applied.

This is where I like to add an embellishment of some kind. It could be a small pearl, bead, crystal.

I was impatient so I placed the bail under it for this photo - but usually you would wait until the glaze has completely dried to apply your bail. The milky appearance of the glaze will disappear when it is dry...it will be clear.

This is the glue you will want to use to affix the bail to the back of the scrabble piece. It takes about a pea size drop or smaller, depending on the size of your bail. 


Is this about the simplest project you've seen? Once you have these supplies you will begin thinking about all kinds of variations on how to use them.

-Simply Sublime!