As we approached the 1 year mark I posted photos to FB and loaded them on my computer. The day has arrived to finally begin the posting adventure covering one of the most fabulous days I have experienced so far! Here we go peeps... the journey of the wedding and how we saved BIG.
Look at this adorable couple. Aren't they the sweetest?
This is our precious daughter and our new son.
If you have followed my blog at all you know I love planning events. So, as this so precious and sweet to us event was approaching I had so much fun seeing to the details while saving us a bundle-o-money. It is amazing what you can do yourself to save substantial money on a wedding.
#1 VENUE
I would say that we learned quickly the most important step to saving on the big day is by starting with a venue that has the basics and some added beauty. You might think, like we did, that starting with a blank slate and piecing it together yourselves will save you heaps. As we starting pricing it all out it became clear rather quickly it simply isn't the case.
We were also able to save about 2/3 of the regular venue fee by setting the wedding date on a Monday that fell on a holiday. We scheduled it late afternoon so those who went away for the long weekend could still get back in time for the celebration.
We found an old historic manor that had so many beautiful details and features. It came with tables, chairs, dishes, silverware, tents and simply gorgeous surroundings.
I am going to post a gazillion photos here to give you the overall feel of the special day we created. Then, over the next few weeks I will add posts on the details of the different do-it-yourself projects we did to save money and I will link them to these photos.
In the end I hope you find this a helpful and inspiring post that blossoms your sense of creativity, while saving you oodles on the wedding details.
#2 Signage
directional signage and instructions help make it more comfortable for guests as they navigate their way through the event while easing the burden of directing people off of the family. I made up all of the signage for this wedding, from fun story boards to directional signage. Doing these yourself can really help to cut down on overall cost.
#3 Invitations & Programs
communion for the ceremony
the ring box
#4 Accessories
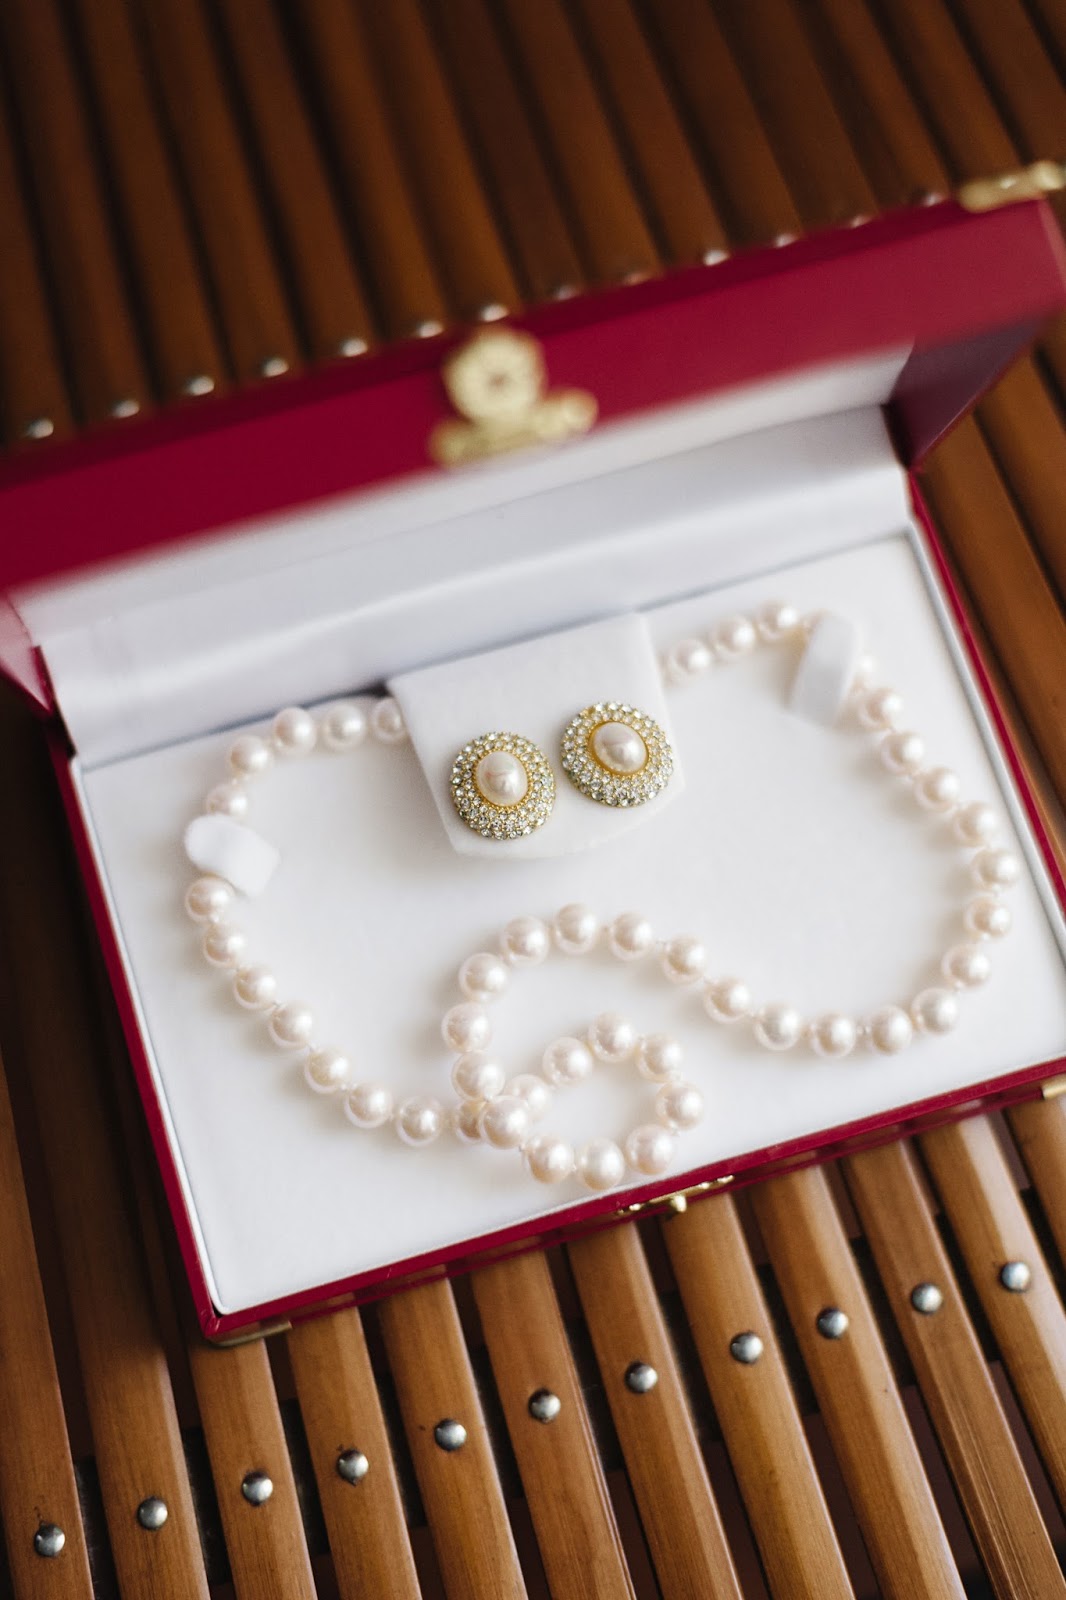
What a treasure are the people who helped get you to this point? It is an honor and a privilege to have the opportunity to wear some of their jewelry and accessories.
Maddy wore the same bracelet I did in my wedding.
and she wore the pearl necklace my father gave my mother
She also wore the pearl earrings my mother-in-law wore for her wedding.
Look at our precious son! Pretty sure he is the most adorable groomsmen EVER!
One of my very favorite moments where we prayed over the bride to be.
Here is an upcycled DIY double sided "Here Comes the Bride" chalkboard sign I made from a reclaimed old cupboard door.
My prayer for this day was that I could BE PRESENT. That the details would work themselves out and I could just soak in the preciousness of the day....and I DID!
And this happened. During the prayer the little brother was in tears as he realized what an example this couple was to the world. Ah, I know... priceless! So thankful this moment was captured.
This is the #1 best moment of the day. The family gathered around and prayed over the couple and blessed their marriage. Look at that sweet grooms head...resting on his girl. LOVE.
and the other side of the "Here Comes the Bride" diy chalkboard sign. "And they lived happily ever after" with the date of their wedding.
someone is happy.
sisters
brother
The parents of the special couple.
(yeah they are just being funny because we are on the short side... okay, well I AM!)
4 generations
our family + new son
our kiddos
Is that bride not so stunning?
love story board filled with the details.
this was a LARGE framed sign I designed and had printed at a shop.
#5 Inexpensive decor ideas
every tree could use a little photo wrapping.
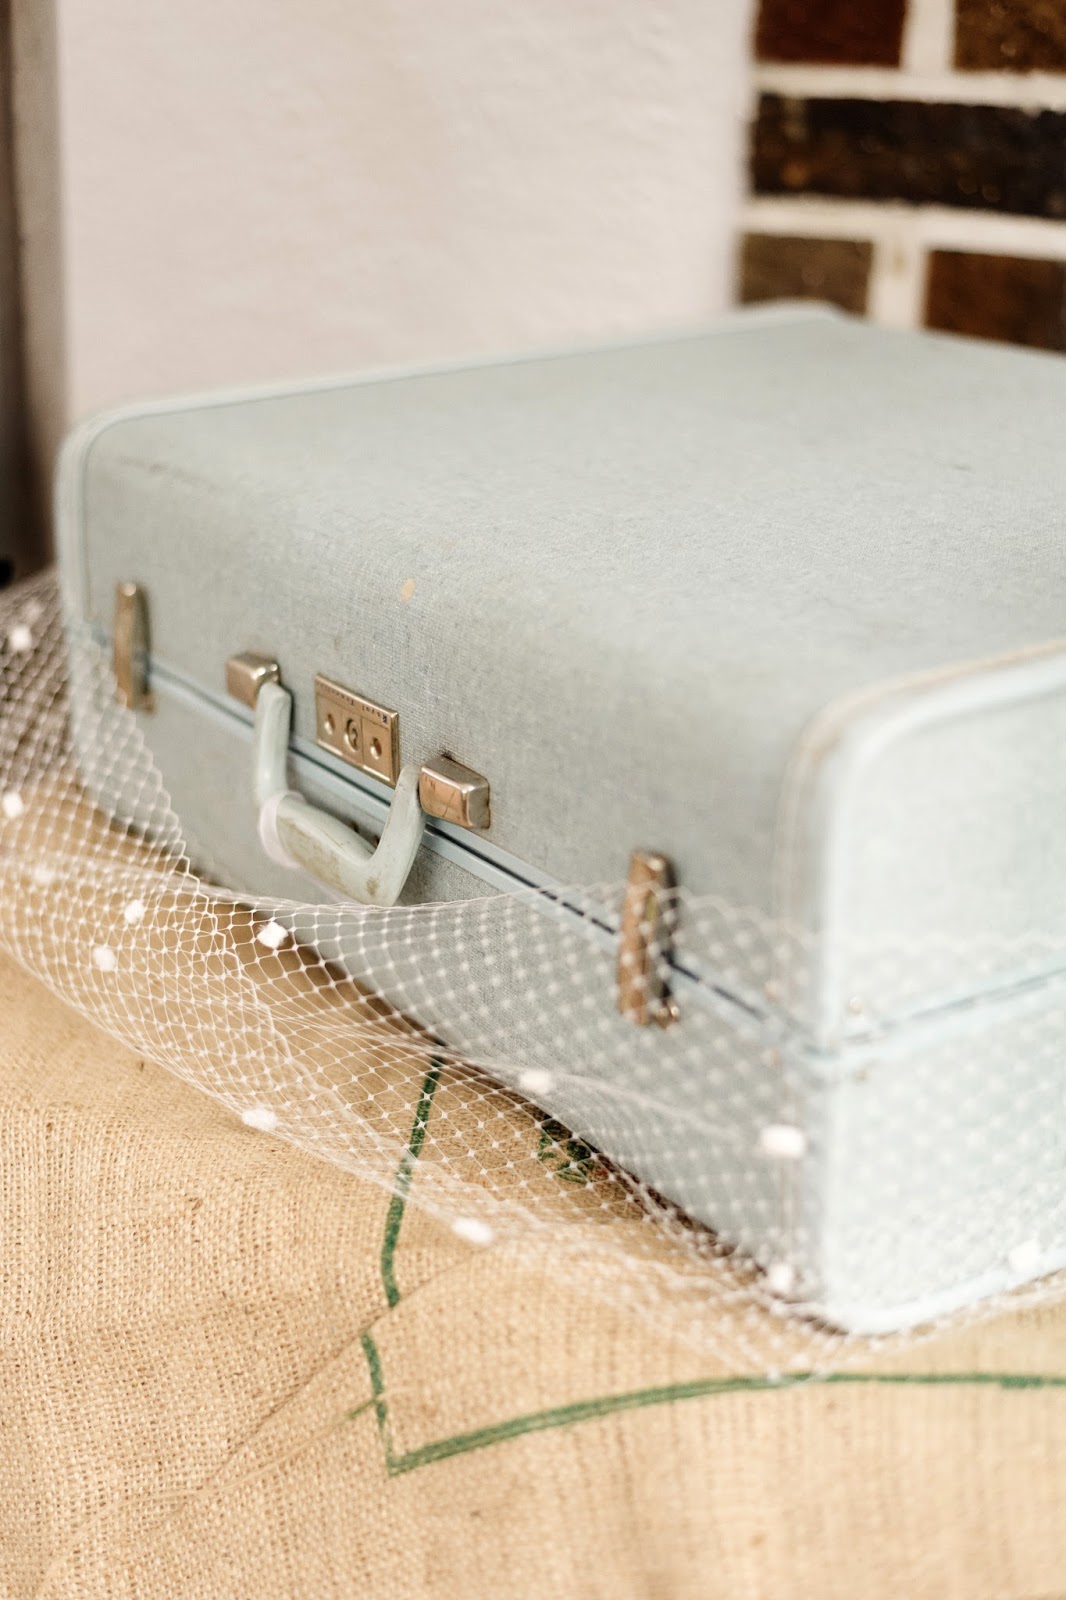
old suitcases make great props and containers.
Kids table made from an old cable spool and a little paint.
Ring pops, bubbles and coloring sheets kept the kiddos entertained.
dessert table (minus the dessert - this is prior to the food arriving)
we had our family bibles from the generations placed in different locations at the reception.
the centerpiece flowers we arranged at our home the night before .
we decided to serve desserts, coffee and bottled soda to keep the cost down.
sweet and simple
Almost every little detail in this wedding has a story. For example the coffee beans in burlap bags that we gave away as wedding favors are from the Woods where Maddy and Charlie work.
I simply cannot wait to share every little nugget with you all.
table decor
Each table had the heritage photos of family romance.
The table names were milestone moments or locations in the wedding couples relationship. Each table card had the name and a brief description of the memory.
the signage added a fun element and was, well... cheap.
Please take a little glance at those soda bottles. Maddy and Charlie spent 6 months in Africa where they witnessed weddings that included a soda exchange. The bride and groom give a sip of their favorite soda to their new spouse. So these bottles came in our luggage from Tanzania and were a fun and truly memorable addition to the reception.
The chair decor on the brides chair is the train from my mothers wedding dress.

the guest book - mini polaroid photos
Below is the photo booth area where the guests would snap their photo, then sharpies were provided to add a note on the mini polaroid. We had an old school blackboard we used for them to hand their photos on.
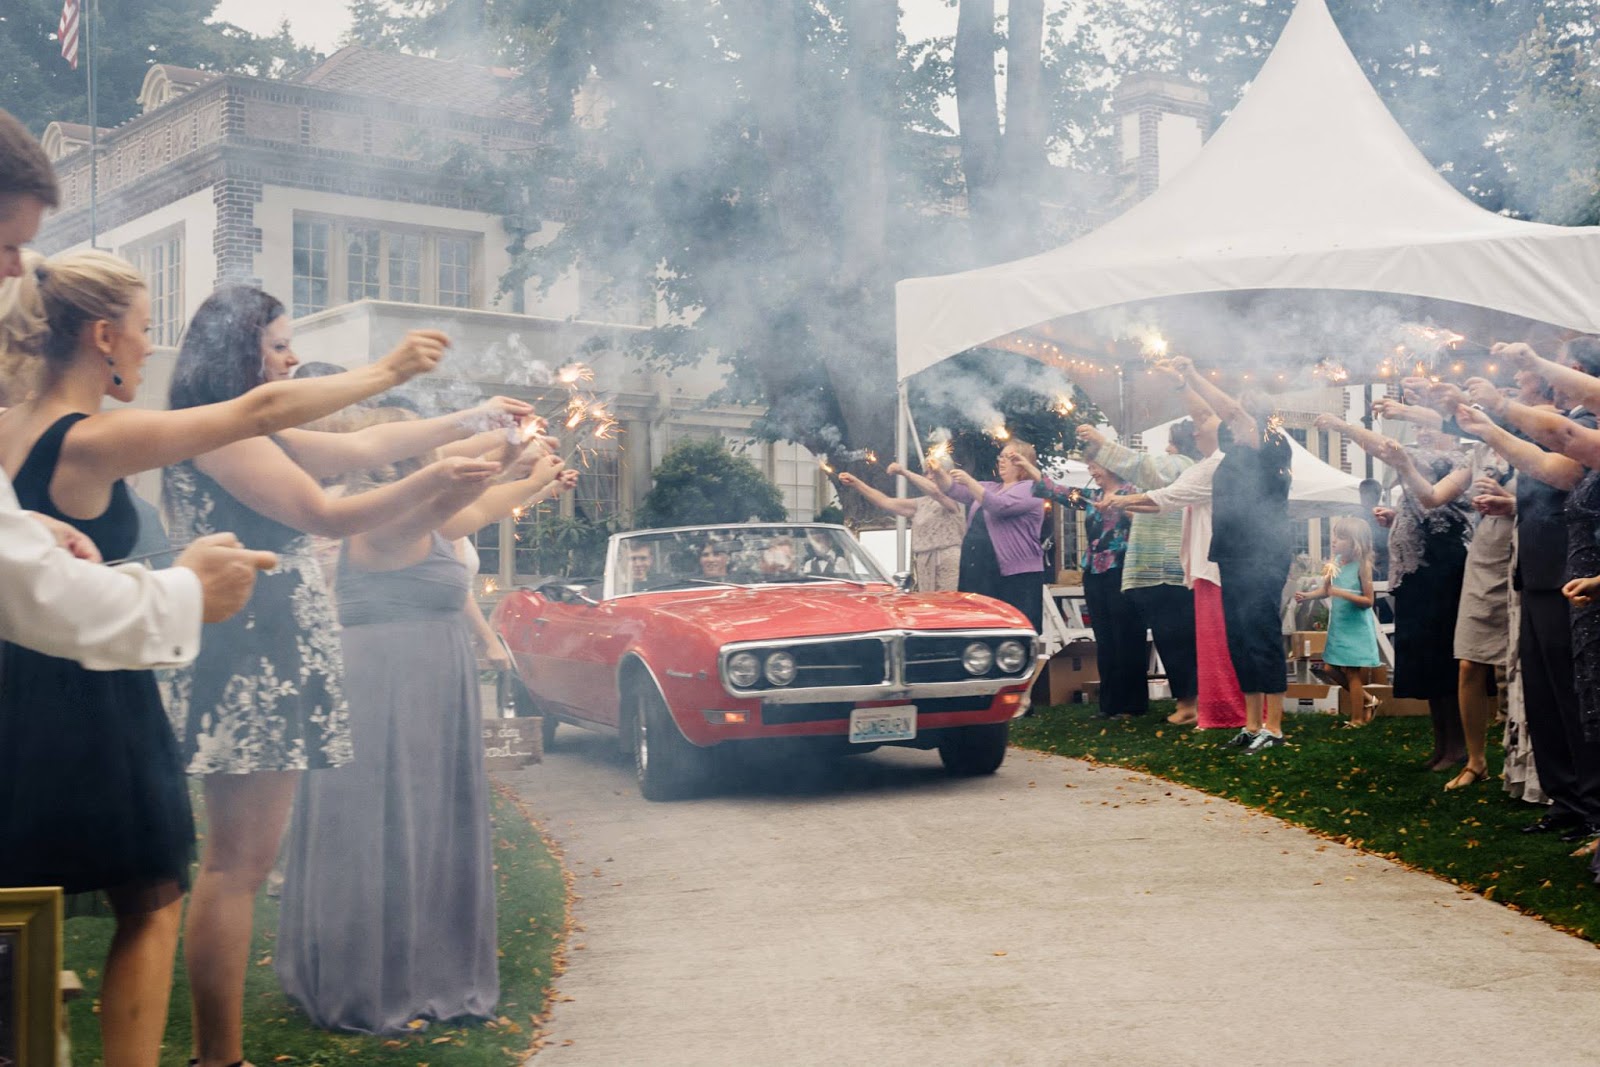
Papa Mike's convertible. Suh-weet ride!

You guys, this isn't even all of it. Can you see why it has taken me a year to even post about it? It is almost too big to even start. Plus, to be honest, I get SO sidetracked by the beauty and the memories in every photo. I find myself just absorbed by them...next thing I know an hour has gone by.
It is a thing of beauty people! Make it meaningful.
-Simply Sublime!