
 |
| DIY Pallet Project: Infarrantly Creative |
Well, hello there again precious peeps! I am oh.so.happy to announce we have happily skipped right on past the doorbell-candy-begging-day and have arrived to the warm cozy season of GRATEFULNESS. I for one could not be happier to see Halloween pass us by. I love the carefree dress up of it all - at the same time the dark side of it is something that is becoming inescapable. So let it BE GONE!
And here we are... finding ourselves seven steps into the month of NOVEMBER already.
Today's inspiration came to me in a very roundabout way. A friend of mine, who lives in Africa with her littles, was looking for some kid friendly Thanksgiving crafts that would use simple {easy to find in Africa} materials. Not the easiest of feats by any means. I was already bored, confined to my cozie blankie with several sore throat lozenges stuffed down my throat..did I mention BORED???... and who doesn't want to be the perfect craft finding hero for someone living in Africa anyway? So a-hunting I would go...
 |
| Simply Vintage Girl |
WOWZA - was I blown away by the amount of GRATEFUL ideas for families out there. There are some seriously talented and thoughtful Mama's out there doing some fabulous footwork for you to have a quick, pain-free start. So, as much as I want to show some of the nugget-size, simple, cute crafts I found - I believe these heart-sized concepts on these links will leave you truly inspired for a larger impact this November and beyond. You can always fill in the down time with cutie pie crafts you find on pinterest.
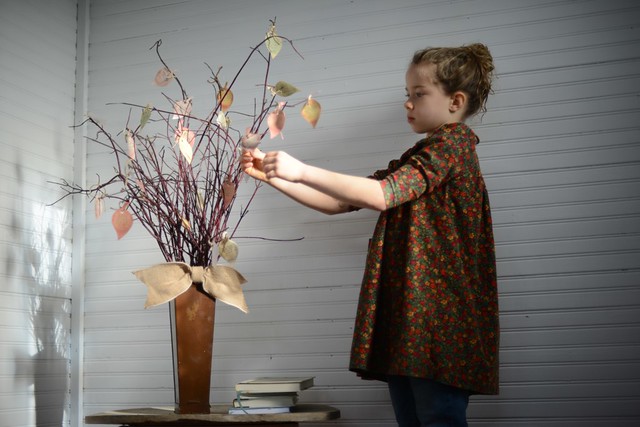
I LOVE the Thankful Tree by Vintage Girl in the photo above. I can think of several different options for the tree and the adornments. How delightful to have an endless opportunity to keep on adding throughout the month, along with the daily reminder of our blessings. Not to mention it is cute to boot!
 |
| UpsideDown Homeschooling |
I am really excited about this printable keepsake journal - it is a prompter of the heart and mind for the kids as well as a keepsake to treasure for decades. There are two options: one for younger primary and one for the olders. It is on sale for $1.99! Check it out over at Upside Down Homeschooling.
A Grateful Chalk Board for families to write their own items on by the creativemama.com

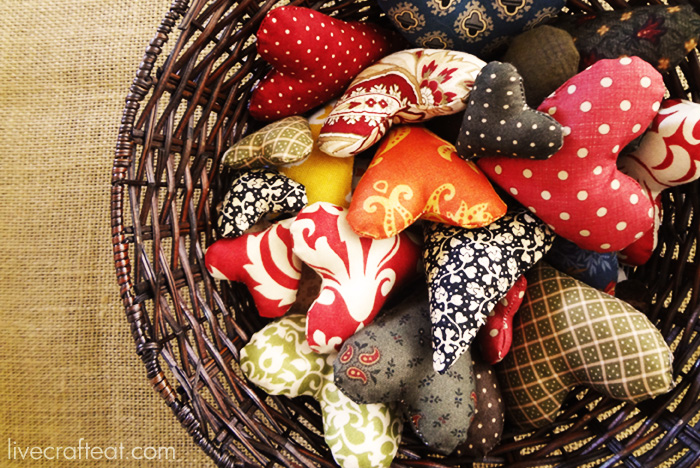 I love this one for SO MANY Reasons. Mainly because it looks soft and cozy like a beautiful fall season full of gratefulness. It makes me want to snuggle up in the basket with the heart pillows or pull each one out and hug it while wrapping my little pea brain all around the gratitude focus on that one sweet little heart.
 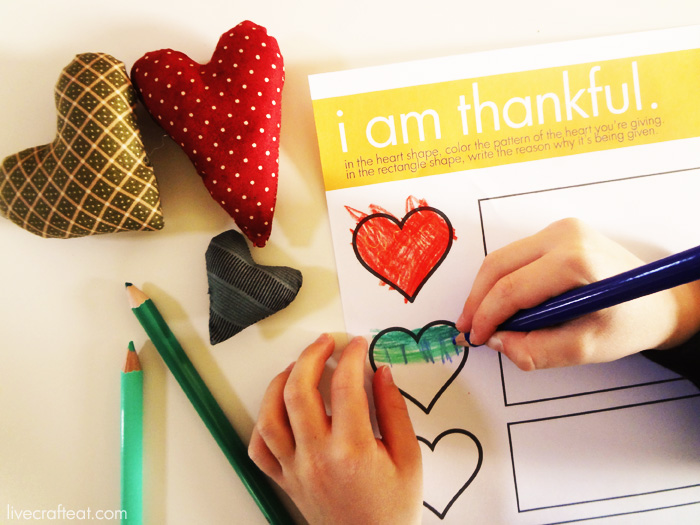 I also love picturing the precious hands of my family sewing each treasured heart of gratefulness. LOVE IT!!! Like really love - will probably do.... and can use my Aunt's vintage fabrics, Africa fabric scraps we have brought back with us and other scraps we have saved from other projects throughout the years... YES - THIS is a MUST DO!
 |
| The Thanks Giving Tree:A Holy Experience |
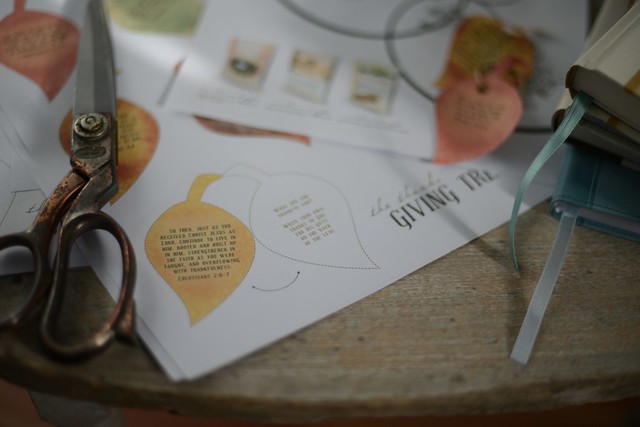
These Free Printables are over at A Holy Experience by Ann Voskamp of One Thousand Gifts. There is an easy download to make these ADORABLE leaves full of wisdom, love and gratefulness with a journal area to add your family's precious additions.
.


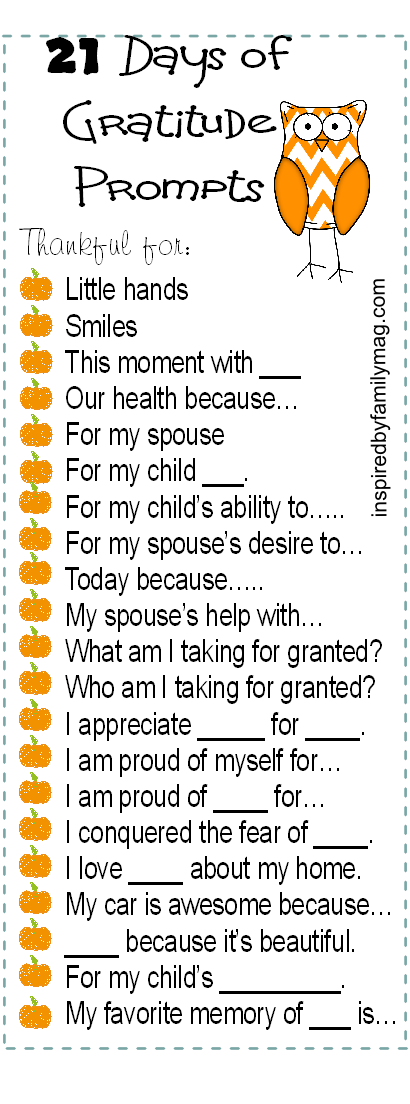
21 Days of Gratitude is already up and running over at Inspired by Familia, heading into it's second week...but.... it is never too late to start being inspired with gratefulness, is it? So why not head on over and check it out. She has several designs of graphics and a great challenge to join in on.
I love the idea of being prompted to find gratefulness in a specific area. It can be so easy to find things to appreciate in the direction our eyes naturally focus on. These "prompts" allow us to look into areas that would typically slide right by unnoticed. This is a terrific way to help our children's vision of gratefulness to expand to areas they may not naturally think of. What a wonderful way to help them grow and develop in gratefulness.
These are only about half of the inspiring ideas I found. Yes, half. Now to pick the one I really think will impact our kiddos the most this year. I am thinking the basket of fabric hearts or the Thankfulness Tree. Hmmm.... I really like the journal too. Would three be too much? Hee hee.
I hope that these projects and/or concepts have encouraged you in some small way. I believe that the more we teach our children to look for things to be grateful for, the more they will be generous with their hearts & their lives.
I do not cease to give thanks for you, remembering you in my prayers - Eph. 1:16
-Simply Sublime


